

The only things you want to leave behind when you fly fish are the trout you caught. The only things you want to take with you are photos. In this post, I offer seven ways to improve your fly fishing photos.
With social media, particularly Instagram and its filters, any photo can be touched up, altered, and manipulated. If you follow fly fishing guides, outfitters, or other fly fishers on Instagram, you know the deep colors and tints and shadows used to re-do photos. In addition to those on Instagram, there are many photo filter apps, such as Snapseed and Prism.
But engaging photos begin with, well, taking a great photo. Filters can only do so much. Most fly fishers will opt for a cell phone camera rather than, say, a Nikon single-lens-reflex camera with a zoom lens. Today’s phones take great photos, if you pay attention to these seven basic tips:
Keep the sun out of the background.
If the sun is behind the fly fisher you intend to photograph, your camera lens will do the same thing your eye does when it looks into the sun. It will squint. This allows less light into the picture, making it dark. So keep the sun beside you or behind you. If you’re taking a photo at high noon, this will not be an issue.
Similarly, if your subject is in the shade, make sure that the background is not lit up by the sun. Shade can be your friend because it lessens the shadows that hide your subject’s face. But a sunlit patch behind the shade will turn your photo dark.
Put a red hat or bandana on your fly fisher.
A red hat or bandana or shirt might spook a trout. But it sure adds a lot to your photo! Red provides a vivid, pleasing contrast to all the earthtones — the greens, browns, and blues.
Get some close up shots.
Skilled photographers move in close. If you’re photographing a fish, fill the frame. Similarly, zoom in on your fly fisher friend. Or take a couple steps closer. Yes, there is a place for a shot in the distance. But close-up shots are more interesting and generally exude more life.
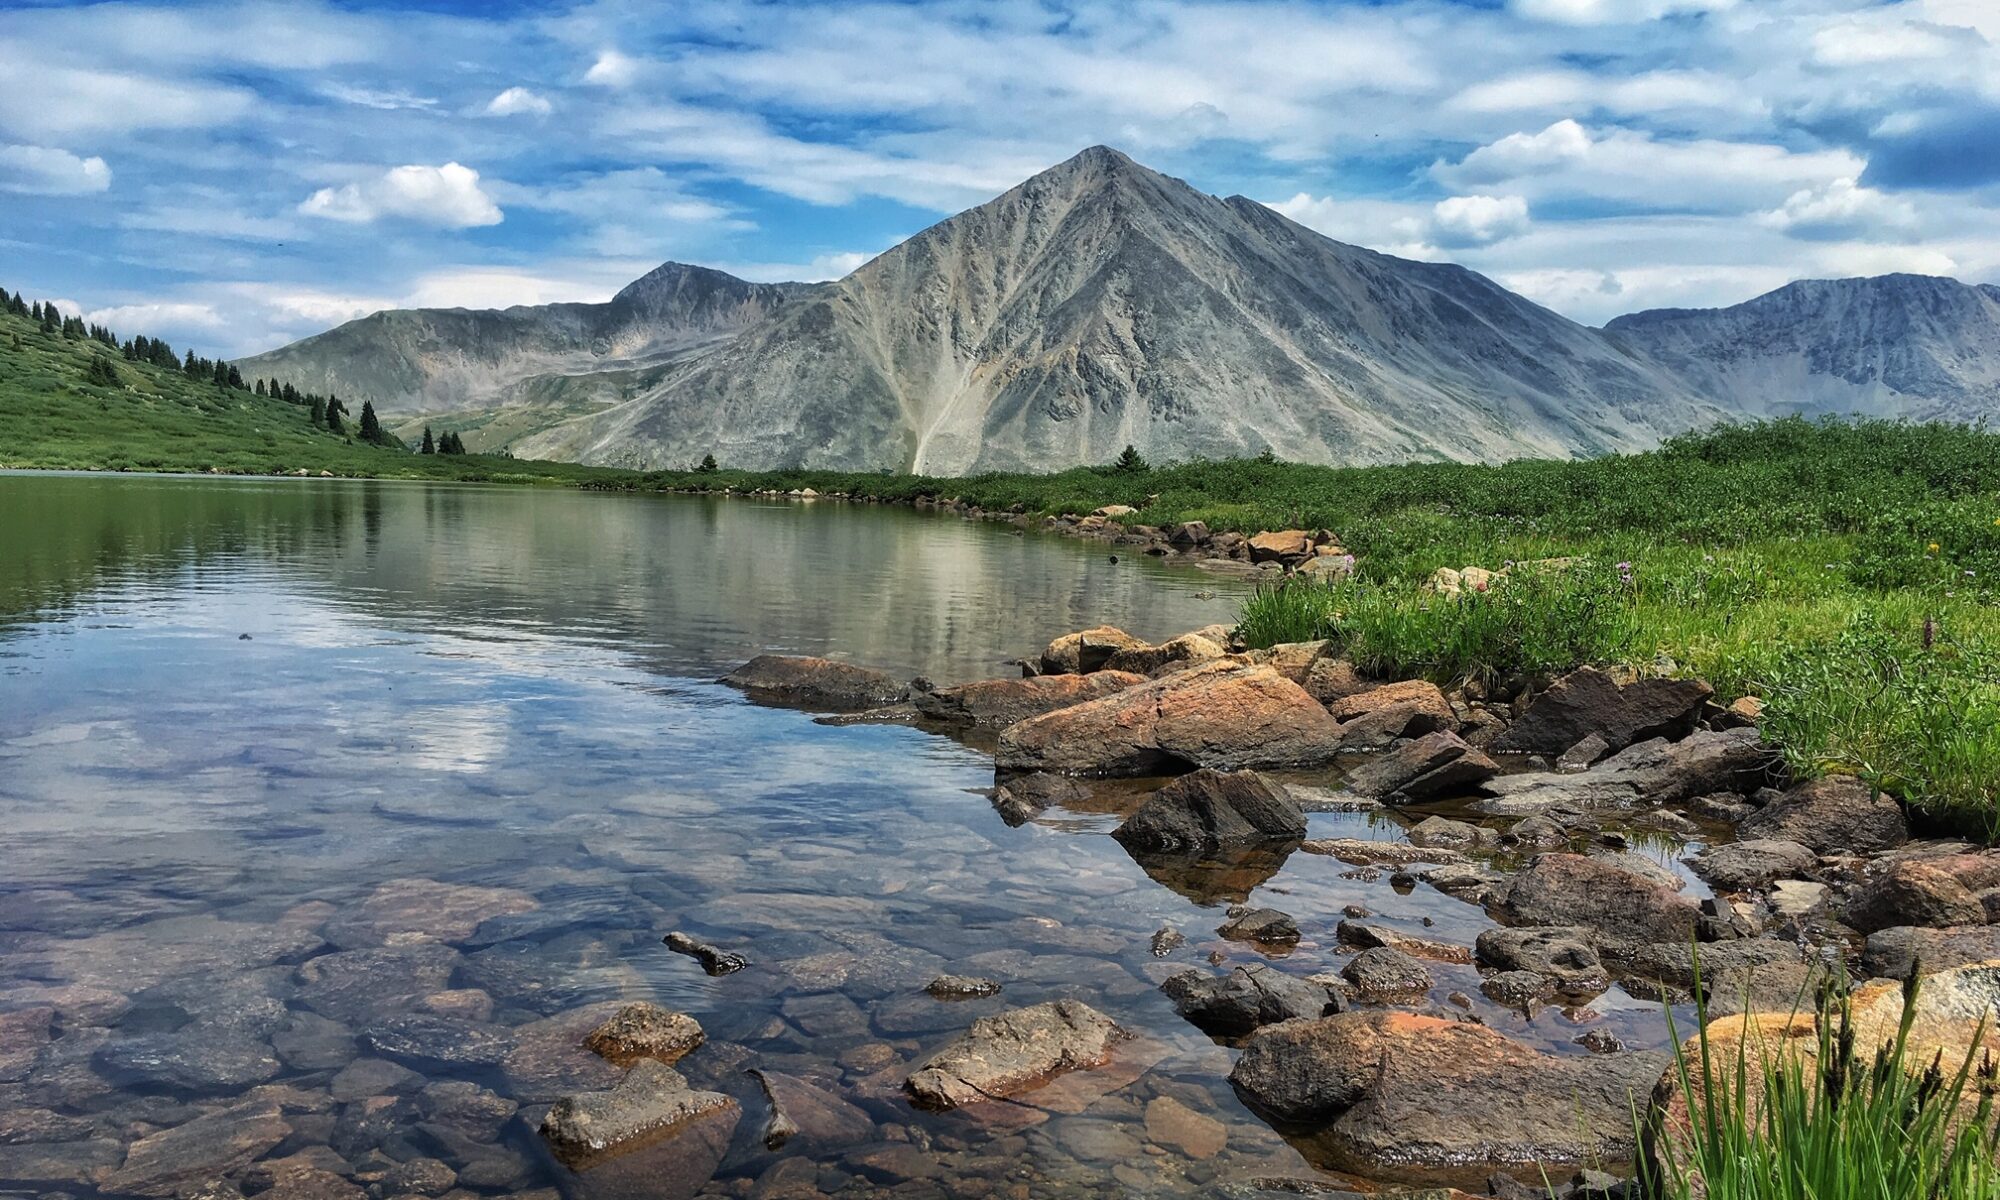
Photograph scenery in the early morning and early evening.
Look at the scenery shots on your favorite calendar or book cover.
The reason for the vivid colors is not the $2000 lens (although that does not hurt). It’s all about time of day. The light in the early morning and early evening brings scenery to life. The shadows add a striking contrast that flattens out during mid-day.
Include an object the foreground.
This gives depth to your photos and can even provide a kind of frame which accents them.
A tree branch or a bush or a rock in the foreground can do wonders to the picture you are trying to compose. You can also use the bottom half of your fly rod with the reel.
Think in thirds.
If you’re photographing a stretch of river with the sky in the background, it’s easy to get the horizontal dividing line (between land and sky) in the middle of the photo. This breaks the photo into equal halves — an upper and lower section. Don’t do this. It results in a bland photo.
Instead, devote either the top third or the top two-thirds to the sky. This disproportion makes your photo more arresting.
Also, when you include a fly fisher in a landscape-shaped photo, keep them out of the middle.
Again, this is boring. The photography police may issue a warrant for your arrest. Instead, imagine that your landscape-shaped photo has been divided into three vertical panels. Put the fly fisher in either the panel to the left or the panel to the right. If your fly fisher is facing left, place her in the right panel. If your fly fisher is facing right, place him in the left panel. Why, you say? Take a photo which breaks this rule and you’ll see how silly it looks.
Keep your camera (cell phone) in a zip-lock bag.
You can’t take photos if your cell phone or camera is water-logged. So make sure you have some zip-lock bags. You never know when you’ll drop your phone into the river. Or you might slip and soak the section of your fly vest with the pouch containing your phone.